A heat pump replacement usually starts long before any equipment arrives at your door. The heat pump installation process begins with the part most homeowners care about most – making sure the system is actually right for the house. In Toronto and across the GTA, that matters because a heat pump has to handle humid summers, cold winter stretches, and the day-to-day comfort needs of real family homes, not just a sales brochure.
If you are comparing options, it helps to know what happens at each stage and where the important decisions get made. A good installation is not just about placing an outdoor unit and turning it on. It involves sizing, electrical planning, airflow checks, refrigerant work, controls setup, and a final commissioning process that confirms the system is operating properly.
What happens before the install day
The first step is a home assessment. This is where the contractor looks at your current heating and cooling setup, the size and layout of the home, insulation levels, ductwork condition, electrical capacity, and where the outdoor unit can realistically go. If you already have a furnace and central AC, the new heat pump may be installed as part of a dual-fuel system or as a straight replacement for the cooling side, depending on the equipment selected.
This is also where sizing gets sorted out. Bigger is not always better. An oversized heat pump can short cycle, wear faster, and struggle with humidity control in summer. An undersized system may run too long and fail to keep up during more extreme weather. The right size depends on the home, not just square footage.
A clear quote should follow the assessment. Homeowners should be able to understand what equipment is being installed, what labour is included, whether electrical upgrades are needed, and what warranty coverage applies. This is often where transparent pricing makes a real difference, because it lets you compare the full job rather than guess what might be added later.
The heat pump installation process on install day
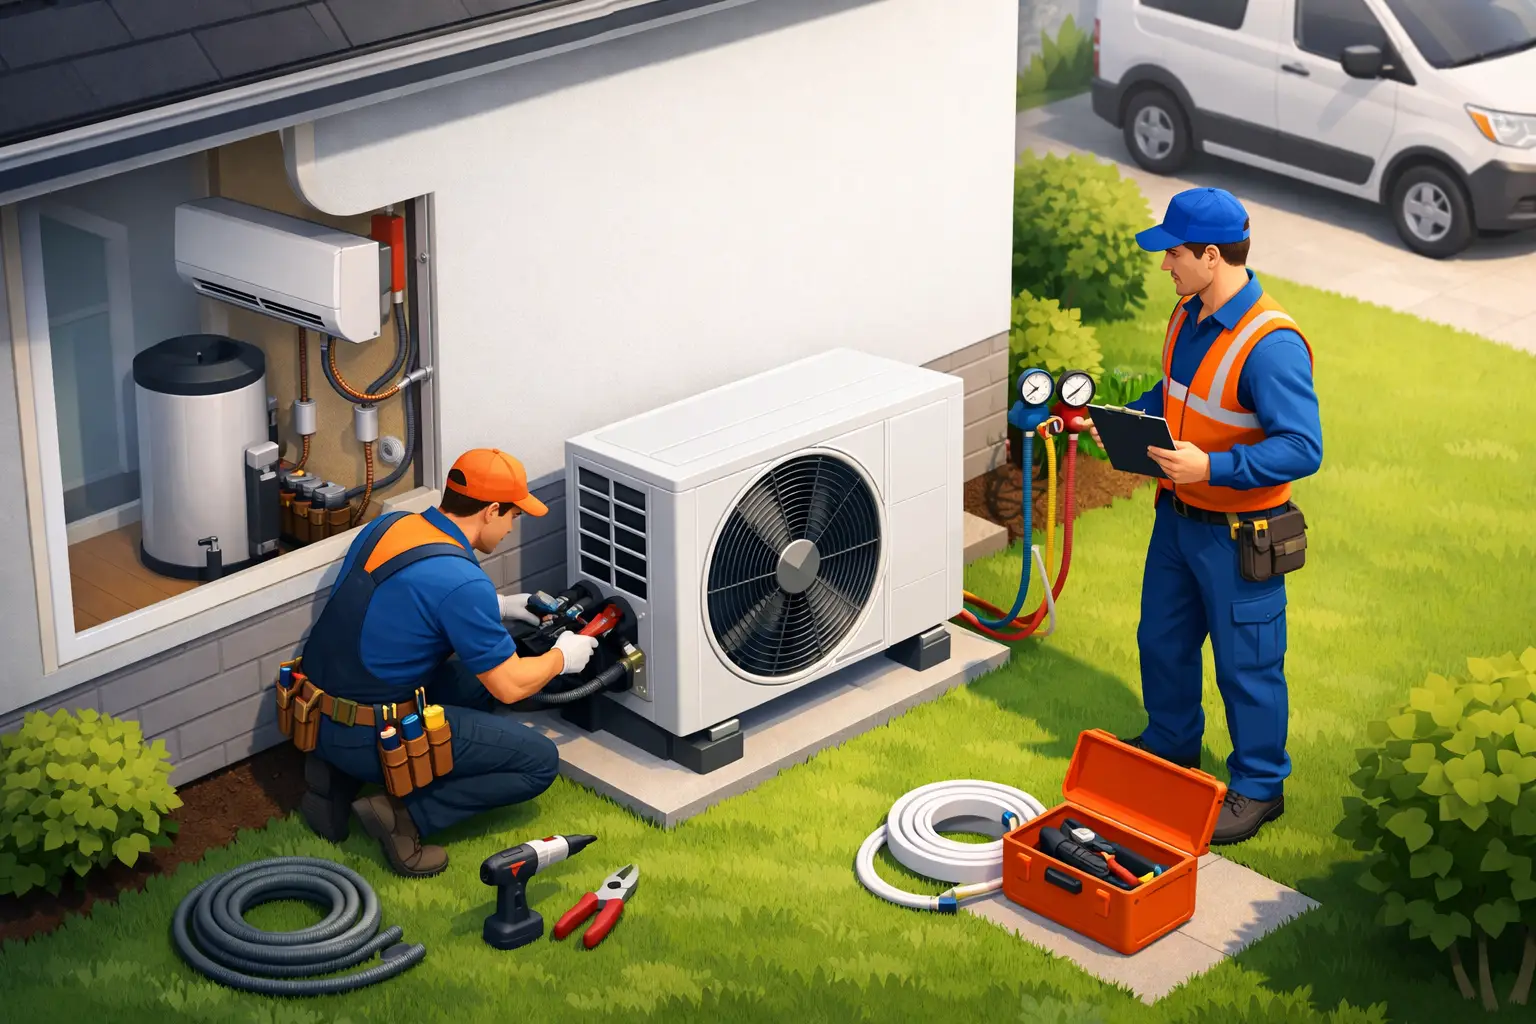
On installation day, the crew typically starts by protecting the work area and confirming the scope before removing old equipment. If the home has an existing air conditioner, that outdoor unit is disconnected and removed. If the indoor coil or air handler is being replaced, the crew will remove those components as well.
How invasive the day feels depends on the system type. A central ducted heat pump installation is often more straightforward if the home already has usable ductwork. A ductless system can involve wall-mounted indoor units, line-set routing, condensate drainage, and drilling access points through exterior walls. Either way, the job should be methodical, not rushed.
Removing old equipment and preparing the site
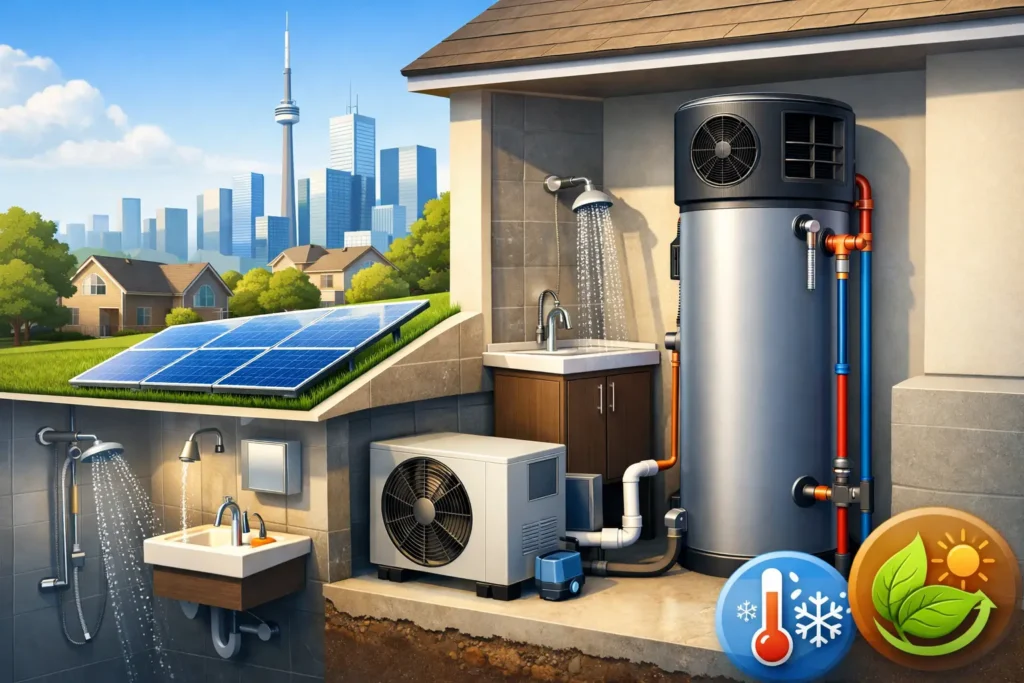
Before new equipment is installed, the mounting area needs to be prepared. For the outdoor unit, that could mean a level pad or wall bracket in a location with proper clearance, drainage, and service access. In winter-prone climates like ours, placement matters. Snow buildup, ice, and restricted airflow can all affect performance if the unit is set too low or in the wrong spot.
Inside the home, the installer may need to modify sheet metal transitions, update refrigerant lines, add a new condensate setup, or adapt the system to match the new indoor coil or air handler. If the existing ductwork is poorly sized or leaking badly, this may need to be addressed during the job or flagged before the installation begins. A high-efficiency heat pump can only do so much if the air distribution side is working against it.
Electrical and control work
Most heat pump installations also involve electrical work. The system may require a dedicated circuit, disconnect, breaker changes, or wire upgrades depending on the model and the existing panel capacity. If backup electric heat or other accessories are part of the system, that can affect electrical requirements as well.
Thermostat and control setup is another key part of the process. Some heat pumps use standard thermostat wiring, while others rely on communicating controls designed for specific equipment. Setup has to be done correctly so the system switches modes properly, manages defrost cycles, and coordinates with any backup heat source.
Installing the new heat pump system
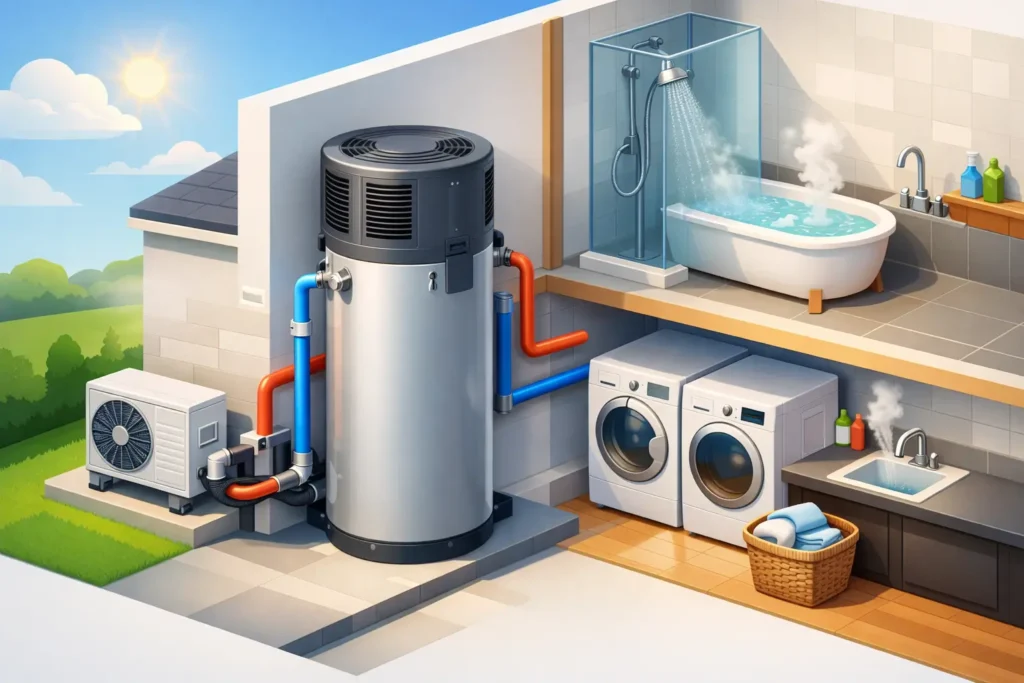
Once the site is ready, the new equipment is set in place and connected. The outdoor unit is mounted securely and the indoor component is installed or matched to the existing system where appropriate. Refrigerant lines are run or adapted, insulated, pressure-tested, evacuated, and charged according to manufacturer specifications.
That last part is where quality really shows. A heat pump is not plug-and-play equipment. Refrigerant work has to be precise. If the lines are not properly prepared, if the vacuum process is skipped or rushed, or if the charge is off, the system can lose efficiency and reliability from day one.
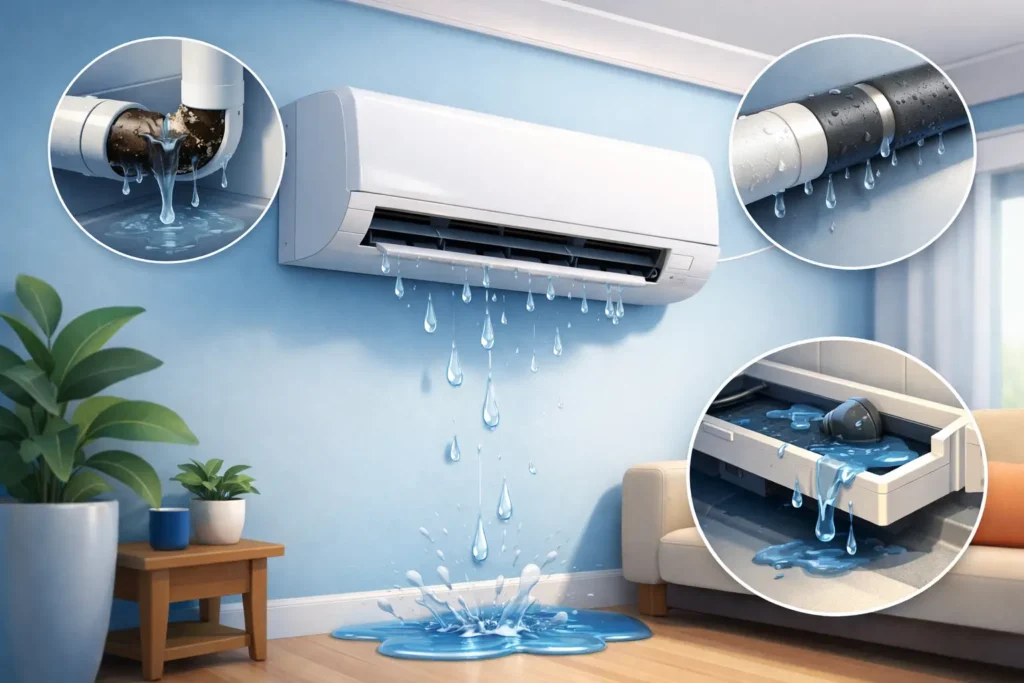
Drainage also matters. In cooling mode, heat pumps remove moisture from the air, and that condensate has to be directed safely away. Poor drainage can lead to water damage, leaks, or nuisance shutdowns. It is a small detail until it becomes a costly one.
Commissioning and testing are not optional
The final stage of the heat pump installation process is startup and commissioning. This is where the installer checks operating pressures, temperature split, airflow, voltage, controls, and overall performance. The system should be tested in the appropriate mode and verified against manufacturer requirements.
For homeowners, this is the point where the job should shift from installation to explanation. You should be shown how the thermostat works, what to expect from normal operation, how often the filter should be changed, and what sounds or behaviours are considered normal. Heat pumps can operate differently than older furnace and AC combinations, especially in colder weather, so a quick walkthrough helps avoid unnecessary concern later.
A proper handoff should also cover maintenance. Even a well-installed system needs regular service to protect efficiency and equipment life. Filters, coils, drains, outdoor unit condition, and electrical connections all need periodic attention.
What can change the timeline or cost
Most straightforward residential installs can be completed in a day, but not every home is straightforward. If the electrical panel needs work, duct modifications are required, the equipment location is difficult to access, or the installation includes major upgrades to the indoor side, the timeline can stretch.
Cost can also vary for reasons that are not always obvious at first glance. Cold-climate heat pump models, communicating systems, accessory add-ons, line-set replacement, pad or bracket requirements, and permit-related needs can all affect the final number. That does not mean the quote is inflated. It means the details of the home and the equipment matter.
This is also why comparing systems by equipment price alone can be misleading. Installation quality, included labour, warranty support, and post-install service matter just as much as the unit itself. A cheaper system is not automatically a better value if it comes with vague scope, limited support, or corners cut during commissioning.
Common homeowner questions during the process
Many homeowners want to know whether they will be left without heat or cooling overnight. In a well-planned replacement, that is usually avoided. The crew typically removes and installs equipment in the same visit, though unusual complications can change that.
Another common concern is noise. New heat pumps are often quieter than older outdoor AC units, but sound levels still depend on the model, placement, and how close the unit sits to windows, decks, or neighbouring properties. This should be discussed before installation, not after the unit is already mounted.
People also ask whether a heat pump can work with a furnace. In many GTA homes, yes. A dual-fuel setup can make a lot of sense, especially when the goal is to improve efficiency without giving up the backup of gas heat during very cold conditions. The best fit depends on the house, your existing equipment, and your comfort preferences.
How to tell if the installation was done right
Homeowners are not expected to inspect refrigerant pressures or verify electrical readings, but there are still signs of a professional job. The equipment should be level, secure, and cleanly installed. The line set should be neatly routed and insulated. The thermostat should operate properly. The crew should explain the system clearly and answer direct questions without dodging them.
You should also receive documentation for the equipment and warranty. If anything about the final setup feels rushed or unclear, ask before the crew leaves. Dependable contractors expect that.
For homeowners who want fewer surprises, the best installation experience usually comes from a company that explains the job in plain language, shows what is included upfront, and stands behind the labour after the work is done. That is one reason many GTA homeowners look for certified installers with transparent pricing and real post-install support, whether they are replacing a failed AC or planning a full heat pump upgrade with a company like Easy Breezy HVAC Inc.
A heat pump is a long-term comfort decision, so the process matters almost as much as the product. When the assessment is honest, the installation is done carefully, and the final setup is properly tested, you end up with a system that feels less like a gamble and more like a smart upgrade for the home.